Though few and far between during this time of COVID-19, field days are still happening on some farms. I had the opportunity to attend one recently near Hustisford, Wis., that was put on by the Dodge County Farmers for Healthy Soil & Healthy Water (HSHW). A very active Wisconsin-based farmer-led group that gets a lot of participation from its members, HSHW encourages innovation through their field days as well as by offering incentives for implementing practices like growing cover crops.
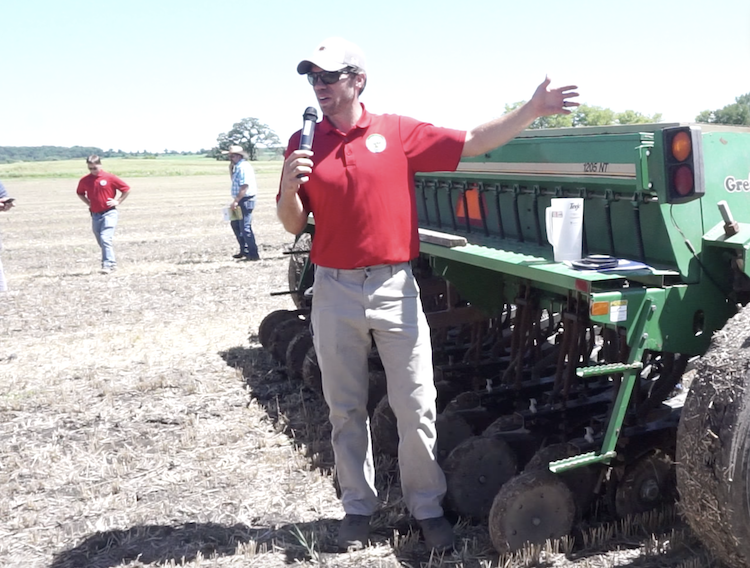
FIELD DAY DEMO. Brendon Blank, Dodge County Farmers for Healthy Soil & Health Water Secretary, explains how to calibrate a grain drill to seed a forage cover crop mix of oats, barley, peas, rapeseed, annual ryegrass, clover and hairy vetch. A gram scale, which can be purchased for about $15 at a hardware or kitchen supply store, can be seen on the back of the drill, next to the pitcher.
One of the biggest challenges with cover crops is getting them established effectively. While the most impactful factors that affect cover crop success are probably weather, planting conditions and growing season, Brendon Blank, HSHW secretary, says seeding cover crops at the right rate is also important for success. If you get them seeded too thin, you may not get good weed-suppressing or erosion-fighting benefits. If you seed them too thick, you’re probably wasting money on expensive seed.
“So we need to know how much is coming out of the drill,” says Blank. A common approach is to put a few bags of seed in the drill, seed an acre, figure out how much is left, and then adjust from there, he says. But that method is time-consuming, not very accurate and can lead to unexpectedly running out of seed.
Most grain drills have a seeding chart that is a good starting point for setting the seeding rate, which will be based on the species or mix being planted as well as the distance between the disc openers. But a few factors, such as wear and tear on the parts over the years, seed size and the presence or absence of a seed coating can cause a drill to release more or less seed than the setting indicates, so Blank suggests calibrating your drill every time you use it.
Many county extensions and universities have developed complicated formulas for drill calibration that involve computing pure live seed (PLS) percentages and seeding area square footage, expressed as a fraction of an acre. But Blank says it doesn’t need to be that difficult.
“It’s really pretty simple to calibrate a drill,” he says. In fact, the University of Kentucky has a simplified approach that doesn’t involve all that math, he explains. To calibrate a drill based on this method, begin by consulting this chart to determine how many grams of seed should be released from each opener over a 150-foot distance, based on your target seeding rate and the distance between disc openers.
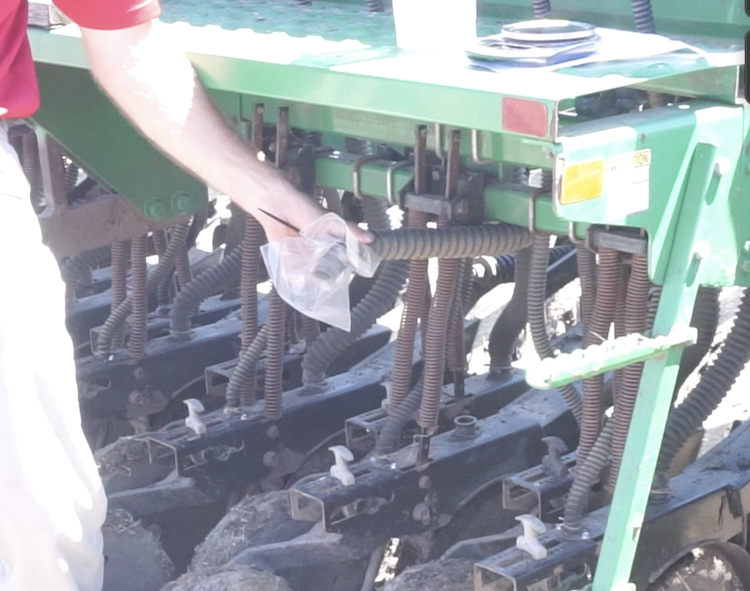
SEED CAPTURE. A basic plastic baggie attached to the seed tube with a rubber band is all that's needed to collect seed during drill calibration.
After setting the drill to the target seeding rate, attach a plastic baggie to a seed tube to capture the seed that will be released during the calibration test. For a good representative sample, it’s best to take samples from a few tubes so you can get an average across the width of the drill. Next, mark off a distance of 150 feet from where the drill is resting and make sure your seed tubes are free of any debris or insects.
The 150 foot distance is arbitrary, according to the University of Kentucky’s website, but that is the distance the chart is based on, so stick with that unless you want to do some unnecessary math!
Next drive the drill* until you reach the 150 foot marker, collect the seed from the baggie(s), and weigh the seed using a gram scale. Checking the chart again will confirm whether or not you need to make any adjustments to your drill settings before you continue on.
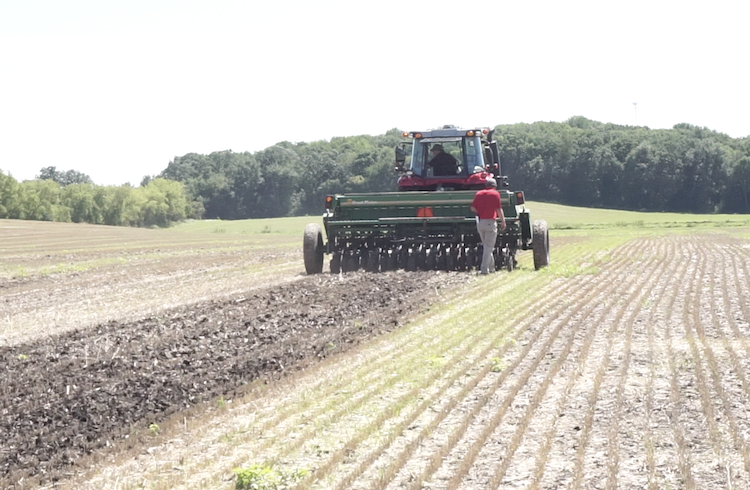
GOING THE DISTANCE. Once set up to collect seed, the drill is driven the pre-determined distance of 150 feet, which goes much faster than the typical method of seeding an acre or more to assess seed usage.
It’s as simple as that. With a properly calibrated drill, you can quickly make sure you’re really seeding your cover crops at the desired rate, instead of leaving it up to guesswork.
The University of Kentucky has posted a complete video demonstrating this drill calibration method here.
Do you calibrate your drill for seeding cover crops and if not, what is the biggest hurdle to doing so?
*You can also do this calibration without moving the drill, though there is a little more math involved. For a complete explanation, watch the video!
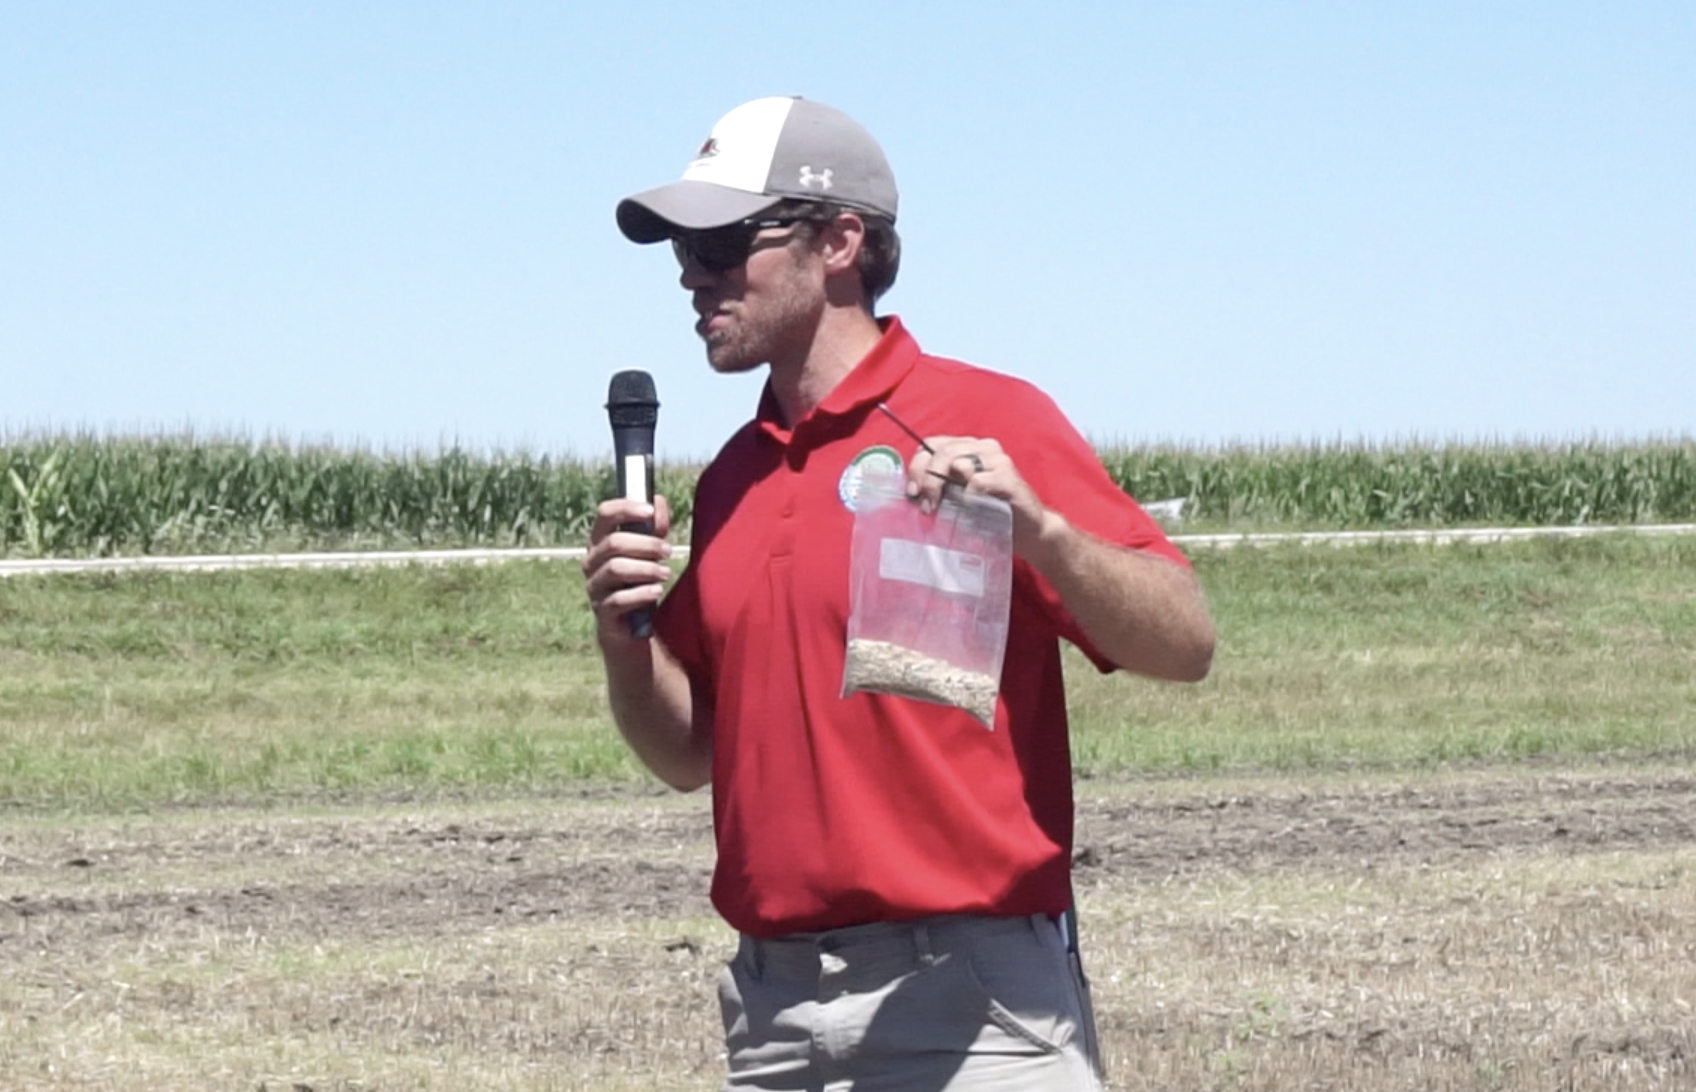
ACCURACY VERIFIED. Brendon Blank holds up the baggie containing the seed captured from one seed tube in the drill calibration test. In order to be properly calibrated to seed 110 pounds per acre on a drill with 7 inch spacing between the disc openers, he needed to collect approximately 100 grams (plus or minus 10%) of seed over a 150-foot distance. The actual amount collected was about 110 grams of seed, so calibration was within tolerance.