No-Till Farmer
Get full access NOW to the most comprehensive, powerful and easy-to-use online resource for no-tillage practices. Just one good idea will pay for your subscription hundreds of times over.
SEED CAPTURE. A plastic baggie attached to the seed tube collects seed during drill calibration. This method involves driving the drill 150 feet, which takes much less time than seeding an acre or more to assess seed usage.
One of the biggest challenges with any crop is getting it established.
While the most impactful factors that affect success are probably weather, planting conditions and growing season, certified forage consultant Brendon Blank of Ixonia, Wis., says seeding at the right rate is also important for success and can be difficult with a drill.
If not enough seed is released, the stand may be too thin and yields can suffer. If too much seed is released, you can run out of seed and costs can soar.
A common approach is to put a few bags of seed in the drill, plant an acre, figure out how much is left and adjust from there, Blank says. But that method is time consuming, not very accurate and can lead to unexpectedly running out of seed.
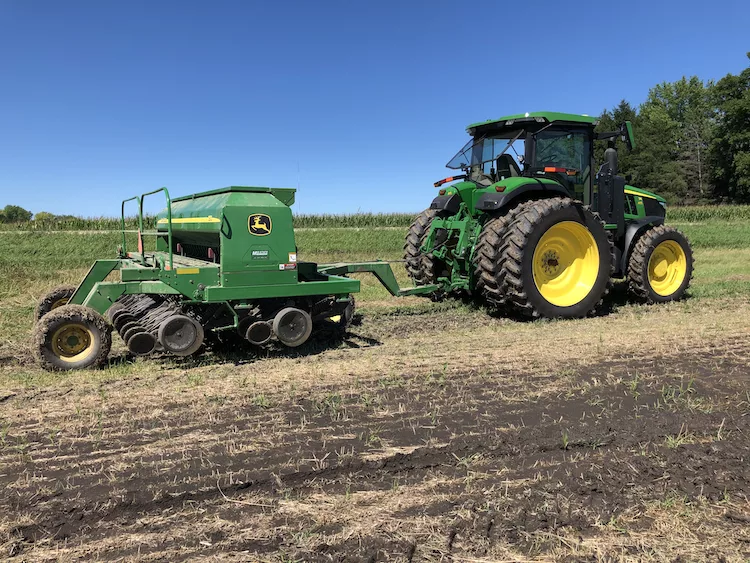
Most grain drills have a seeding chart that is a good starting point for setting the seeding rate, which will be based on the species or mix being planted as well as the distance between the disc openers.
But a few factors, such as wear-and-tear on the parts over the years, seed size and the presence or absence of a seed coating can cause a drill to release more or less seed than the setting indicates. So Blank suggests calibrating your drill every time you use it.

GRAMS PER ROW. After capturing the seed from the seed tubes, weigh the output of each tube on a simple kitchen gram scale. To calculate a seeding rate not found…

Get full access NOW to the most comprehensive, powerful and easy-to-use online resource for no-tillage practices. Just one good idea will pay for your subscription hundreds of times over.
Download these helpful knowledge building tools

We have engineered and developed the most advanced concave system that threshes all crops, eliminates rotor loss, improves grain quality, gives you a cleaner sample – all with one set of XPR concaves.
At Titan International, our product portfolio reflects our commitment to innovation and high-quality products. Titan International offers a full line of solution-focused wheel, tire, and undercarriage products for a wide variety of off-the-road equipment in agriculture, construction, forestry, mining, power sports, high-speed trailers, and outdoor power equipment segments. As one of the largest North American manufacturers, with a network of dealers all over the world, Titan is an industry leader that original equipment manufacturers and operators can count on for durable products and quality service.

Provide expert analysis and decision support to increase productivity and profitability.